Last Updated: 6/2/23 | June 2nd, 2023
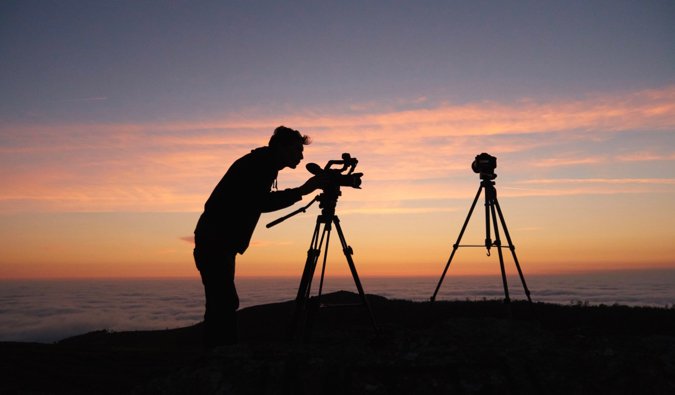
Photographs are an important part of the travel experience. Since I’m not a photographer, I’ve invited professional photographer Laurence Norah of Finding the Universe to share his tips and advice. In this post, Laurence will help you make the most out of any new camera.
In my experience, people are often disappointed with their first efforts with a new camera. Somehow, the shots don’t look quite as good as they were hoping. That’s because while your new camera might be capable of taking better photos, it is going to require a bit of time and effort to learn how to make the most of it.
I’ve spent time teaching folks how to get the best out of their equipment, both online and offline, and know that it takes some trial and error to get where your photos look how you want them. Practice makes perfect (I promise)!
In today’s post, I want to share with you some of my tips for getting the most out of your new camera, based on my years of experience as a professional travel photographer, working with a variety of different camera manufacturers and shooting around the world. I’m going to teach you my top ten tips that you can start to apply today to take your photography to the level you want to get it to.
1. Read the Manual
Modern cameras are complex pieces of equipment with myriad functions and capabilities. The way you access and manage these functions varies between camera models. Don’t worry, I don’t want you to sit down with your camera manual and learn the whole thing by rote. But it is the best place to find out at least the basics of how your new camera works.
Despite my years of experience, when I’m confronted with a new camera, it still will take me time to get used to finding all the features I want to access — even simple things like changing the focus mode or ISO setting can be buried deep in a hidden menu. To this day I still struggle if someone hands me a camera from an unfamiliar manufacturer. I’m just not going to get the best out of it because I haven’t learned how to use it properly.
Grab ahold of the manual to at least get an idea as to what all those buttons do. That way you don’t miss a shot because you couldn’t remember how to flick between focus modes!
2. Learn the Basics of Composition
The key part of photography is you the photographer — not the camera.
Thankfully, taking better photos with your new camera isn’t rocket science and anyone can learn the basics (heck, even Matt did it). (Matt says: It’s true. My photos were terrible but even my unphotogenic mind picked up a few tricks!)
If you teach yourself some basic rules for how to compose photos, you can shortcut your way to taking awesome shots.
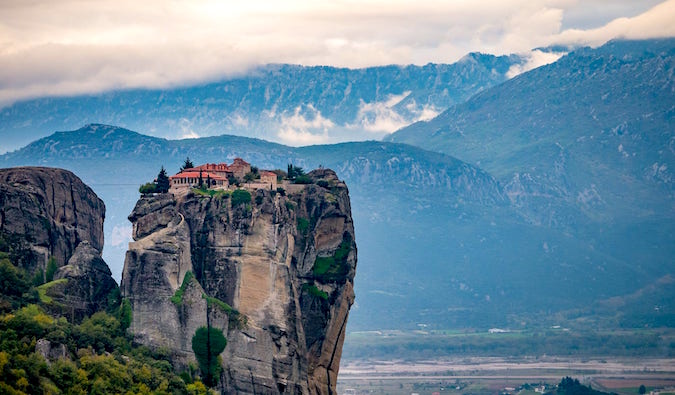
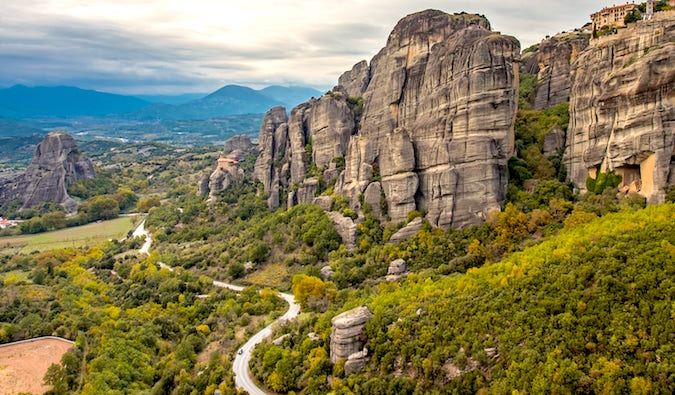
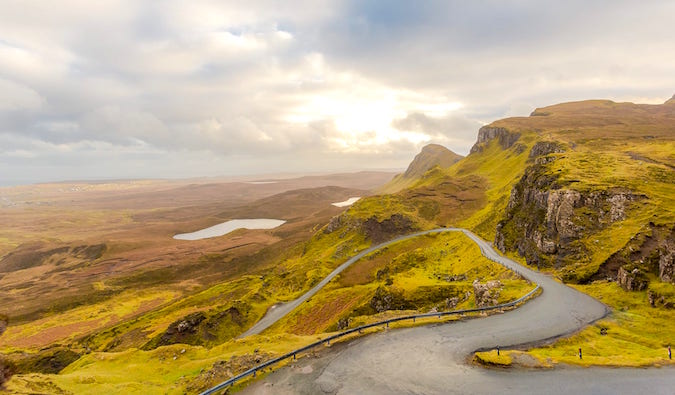
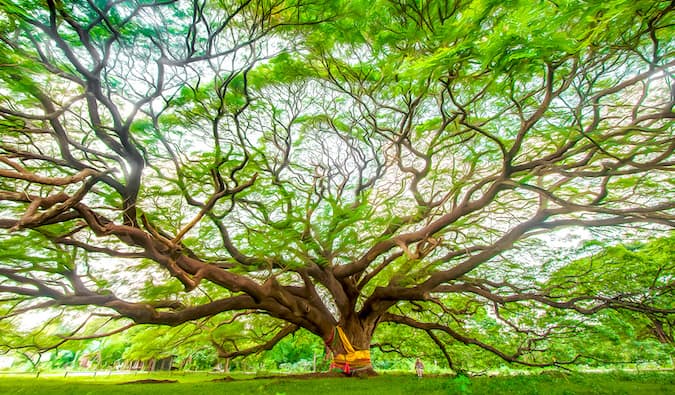
These rules aren’t hard to grasp. They just require you to apply some simple principles to all your shots. For example, a road leading into a shot will naturally lead the viewer’s eye along with it, while a splash of color can be used to accentuate a subject.
Over time, as you use these rules more, you’ll start to apply them naturally and you’ll develop your photographer’s “eye” (i.e. the ability to compose a shot without having to think about it too much).
Take a look here for an in-depth post covering some of those key rules: the rule of thirds, leading lines, use of color, and more.
3. Learn About the Exposure Triangle
The basic concepts of how a camera works to capture light are important to master but unfortunately can be confusing to wrap one’s head around. Many people just give up and leave their camera in auto mode, never fully realizing the potential of their device.
This isn’t helped by camera manufacturers adding ever more bells and whistles to their products in an effort to stand out in a crowded marketplace, meaning you might not be sure which controls are important and which are superfluous.
Here’s a tip: the most important controls are those that affect what we photographers call “the exposure triangle,” namely the shutter speed, ISO rating, and aperture — the three key elements of a camera that we have control over and allow us to vary the amount of light that we capture.
Understand those things and the photography world will be your oyster. Changing each one has a different impact on the way a shot looks, but overall they control the same thing: how dark or bright the image is. Start to experiment with your aperture, shutter speed, and ISO, and don’t be afraid to get it wrong — digital “film” is free!
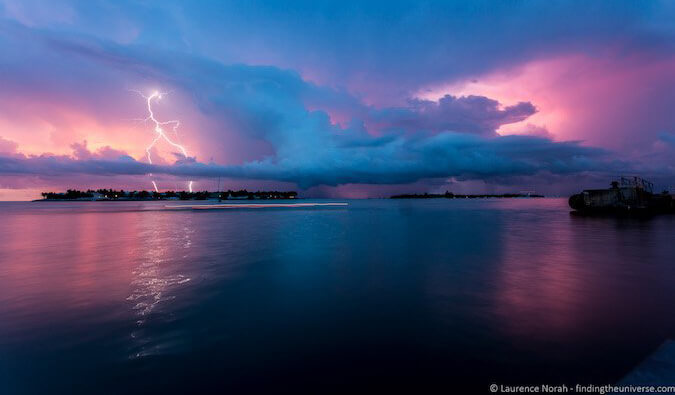
4. Learn About Light
At its most basic, a camera is just a device for capturing the light. That hasn’t changed since they were first invented in the 1800s.
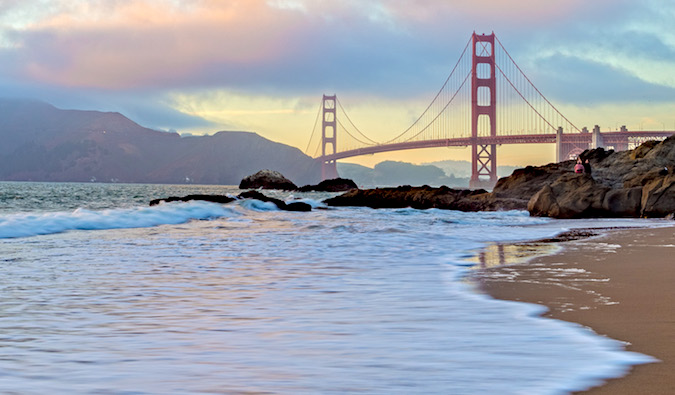
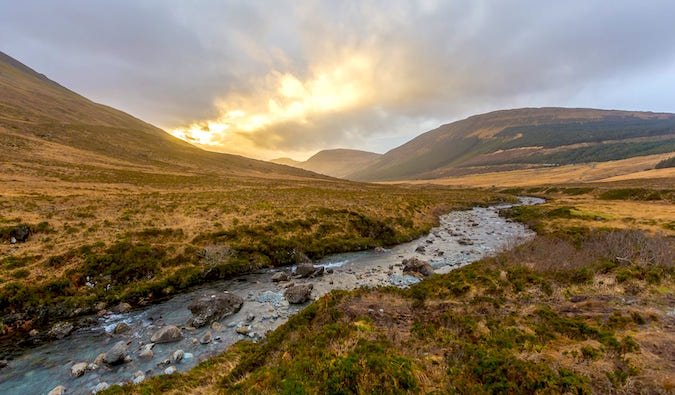
Light is, therefore, a key component of photography. Different times of day offer different qualities of light, with the light around sunset and sunrise offering a warmer, softer quality to our images, while midday light is less flattering, with harsh contrast and flatter colors. Ideally, you want to shoot closer to sunrise and sunset and less around midday if you can.
Where the light is coming from is also important. If you shoot directly into the sun, you’ll find your subject will likely be a black silhouette. Instead, you should position the sun behind you when shooting, to properly illuminate your subject and give you the best results.
5. Challenge Yourself
As a travel photographer, I’m lucky because I’m often out traveling the world and finding fun things to take pictures of. However, I’m happy to admit that I can struggle to find inspiration during the downtime between trips. And if you’re not traveling regularly, you too might struggle to find reasons to get out and take photos.
But photography is a skill and the best way to improve a skill is to practice it. You can read articles like this all day, but the truth is, you need to get out into the world, apply that knowledge, and start training your brain to become a photographer.
One way to do this is to start setting yourself challenges, giving yourself a focus and reason to get out there. Maybe it’s something simple, like a photo of a new subject every day. Maybe you set a weekly theme and stick to it. Whatever it is (there are plenty of places online to find photo challenges too!), just make sure that you give yourself as many opportunities as possible to learn.
That way, when you go on a trip or adventure that you really want to capture, you’ll be ready!
6. Get Used to Taking It With You
This is related to the previous tip, in that practice makes perfect. The best camera is always the one we have on us. So if you’ve just gotten a new camera, get into the habit of taking it with you wherever you’re headed and get some practice using it. If it is always with you, you’ll never have an excuse not to take it out and use it (remember practice makes perfect).
Leave your camera by your keys, near your jacket, or next to your shoes. Make sure it’s always with whatever it is you leave your house with so you remember to take it with you. Just having it with you will increase the frequency in which you use it! Even going from zero to one photo a day is better than nothing!
7. Get a Cheap Prime Lens
If you have a camera that lets you change lenses, like most mirrorless or DSLR cameras, then I highly recommend spending a little bit of money on a prime lens. A prime lens is one with a fixed focal length, which means you can’t zoom in or out.
This will force you to move around and really think more carefully about your composition before you take a photo. Prime lenses also have very wide apertures, which has two advantages: they let a lot of light in, so you can use them when it’s darker; and they let you achieve a shallow depth of field, allowing you blur the background and really let your subject shine.
The best thing about a prime lens is that the basic models can be picked up very cheaply — often for less than $100 USD in fact. For Canon, my recommendation is the 50mm f/1.8, also referred to as “the nifty fifty,” a lens that every Canon photographer should own. Other manufacturers offer similarly priced equivalent lenses.
8. Start Shooting in RAW Format
When I teach photography workshops, one of my goals is to try and get my students to switch to shooting in RAW rather than JPG.
If these letters don’t mean anything to you, don’t panic. All they are is formats for the way your camera saves the image data it captures.
The difference is that a RAW file contains everything your camera has captured, while a JPG is more of a finished product, which has been edited by the camera and reduced in size for your convenience.
While a JPG is indeed more convenient (you can directly share it to social media), it also allows you less control in the editing process.
You can think of a RAW file as a roll of film and a JPG as the finished print. With the RAW file, you have full control over the development process, and as a result, you have full control over the final look of your image. It is a bit more work at your end, but it’s ultimately worth it.
9. Start Editing and Curating Your Photos
Something I learned early on in my photography career was the importance of editing my photos. Even minor corrections, like straightening a horizon or adjusting sharpness and contrast, can make the difference between an OK photo and a great one.
Don’t be put off by the thought of having to spend a lot of time editing your photos. Even an application as fully featured as Adobe Lightroom can be picked up relatively easily and you can use an even-simpler editor like Snapseed on your mobile phone to make your shots pop.
I love the creative possibilities that photo editing opens up for me. I also want to share another photography tip that I’ve learned, which is the art of curation. You need to become one of your biggest critics. I’m often asked why I don’t take bad pictures. The reality is that of course I take bad pictures! I just do my best not to share them anywhere.
Curating our own photos is really important: always try to only share your very best work, so the world will think that you too only take great photos!
10. Keep Going
The reason that people succeed at tasks is not because they are necessarily better at it than other people. It’s because they keep persevering, despite the setbacks, frustrations, and mental barriers to success that they find along the way.
Photography is the same. The best photographers in the world all started out with no idea at all what they were doing. What got them to where they are today was a drive to succeed and a willingness to put the effort in.
I was 13 when I got my first camera and I’ve been shooting ever since. So don’t give up! Make photography your passion and it will reward you!
Remember that photography is a long-term game, and just having a new camera won’t automatically mean your photos are going to improve. You need to invest a bit of time and effort into it — but the rewards will be worth it.
Laurence started his journey in 2009 after quitting the corporate life and looking for a change of scenery. His blog, Finding the Universe, catalogs his experiences and is a wonderful resource for photography advice! You can also find him on Facebook, Instagram, and Twitter. He also teaches an online photography course.
Book Your Trip: Logistical Tips and Tricks
Book Your Flight
Find a cheap flight by using Skyscanner. It’s my favorite search engine because it searches websites and airlines around the globe so you always know no stone is being left unturned.
Book Your Accommodation
You can book your hostel with Hostelworld. If you want to stay somewhere other than a hostel, use Booking.com as it consistently returns the cheapest rates for guesthouses and hotels.
Don’t Forget Travel Insurance
Travel insurance will protect you against illness, injury, theft, and cancellations. It’s comprehensive protection in case anything goes wrong. I never go on a trip without it as I’ve had to use it many times in the past. My favorite companies that offer the best service and value are:
- SafetyWing (best for everyone)
- Insure My Trip (for those 70 and over)
- Medjet (for additional evacuation coverage)
Want to Travel for Free?
Travel credit cards allow you to earn points that can be redeemed for free flights and accommodation — all without any extra spending. Check out my guide to picking the right card and my current favorites to get started and see the latest best deals.
Need Help Finding Activities for Your Trip?
Get Your Guide is a huge online marketplace where you can find cool walking tours, fun excursions, skip-the-line tickets, private guides, and more.
Ready to Book Your Trip?
Check out my resource page for the best companies to use when you travel. I list all the ones I use when I travel. They are the best in class and you can’t go wrong using them on your trip.